
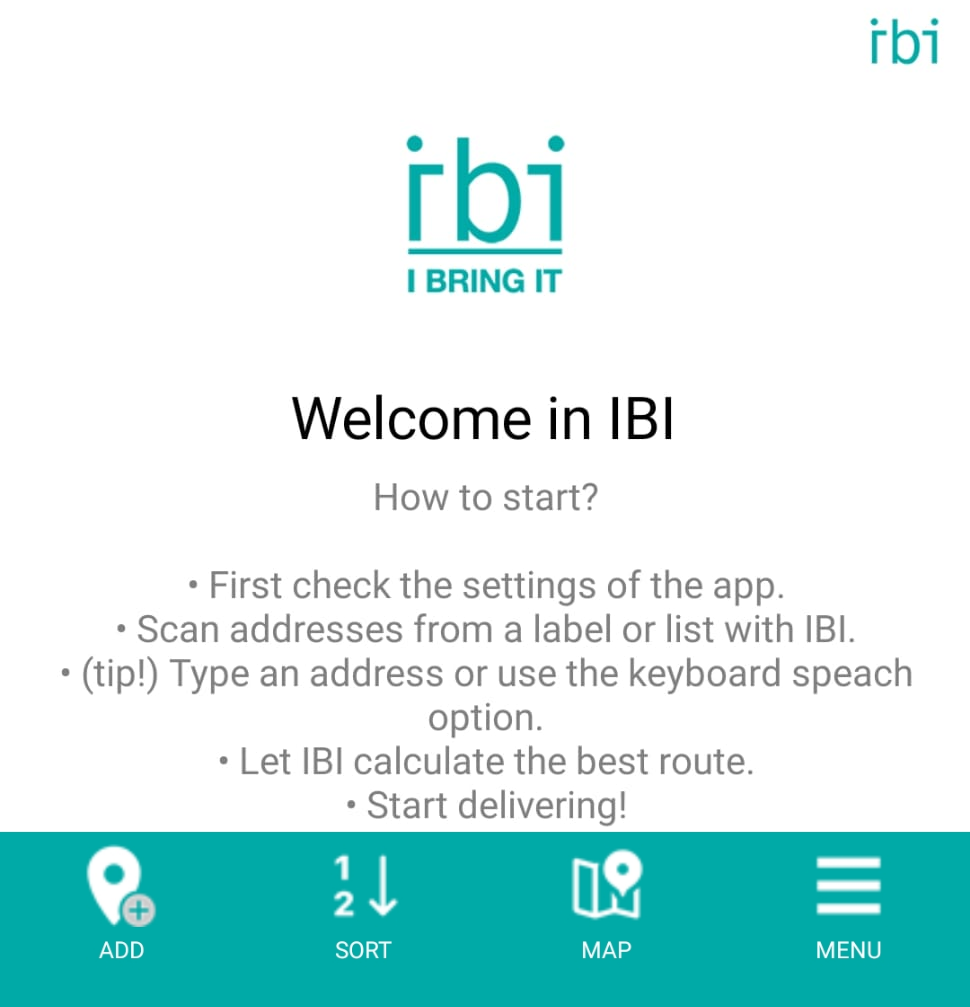
In this part of the manual, the general usage of IBI will be explained.
Adding addresses
The IBI app supports three ways of adding addresses:
- Scanning addresses on clearly printed labels with your phone camera.
- Typing an address.
- Entering an address with your voice.
To add an address press the ADD button.
If you added all the addresses you can swipe down to sort the addresses.
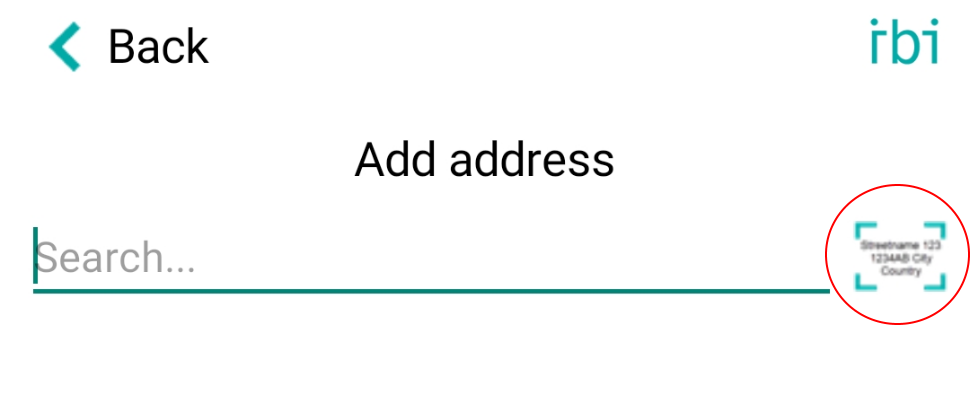
Scan an address
To start scanning, press the scan button. Marked red on the picture.
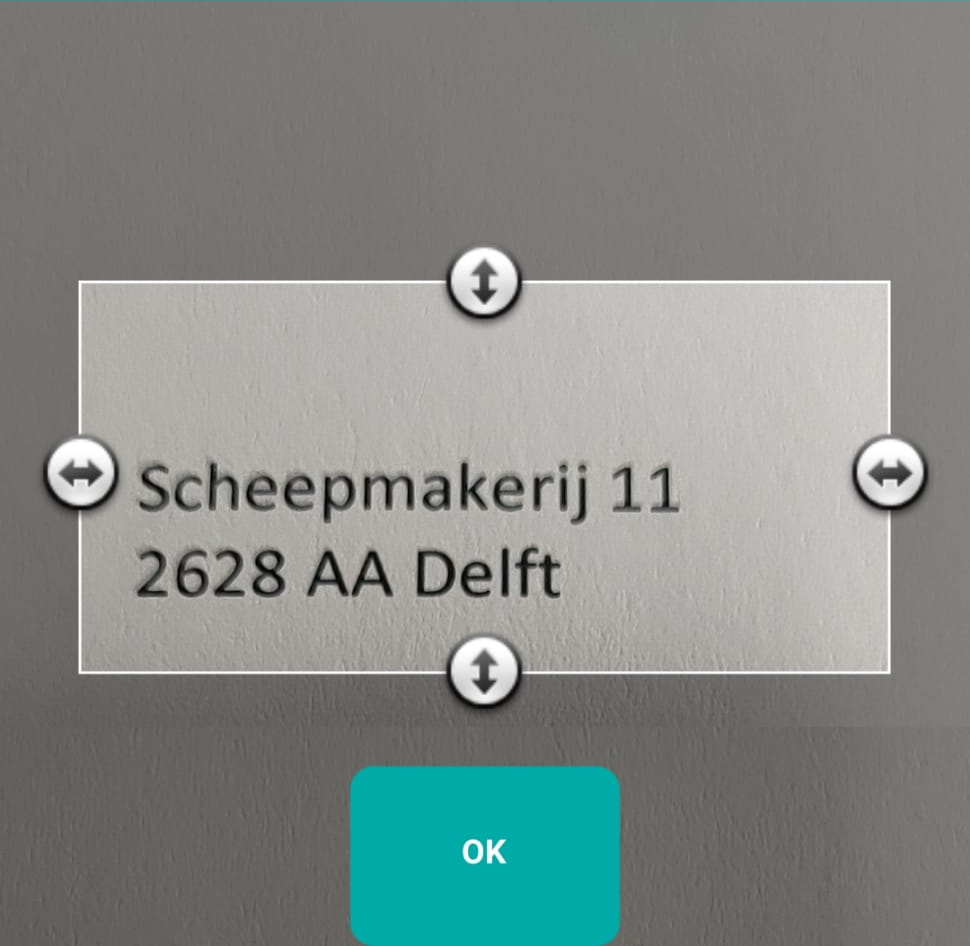
Center the scanning area on the label of the package or letter and press OK. You can increase or decrease the scanning area with the arrows around the area.
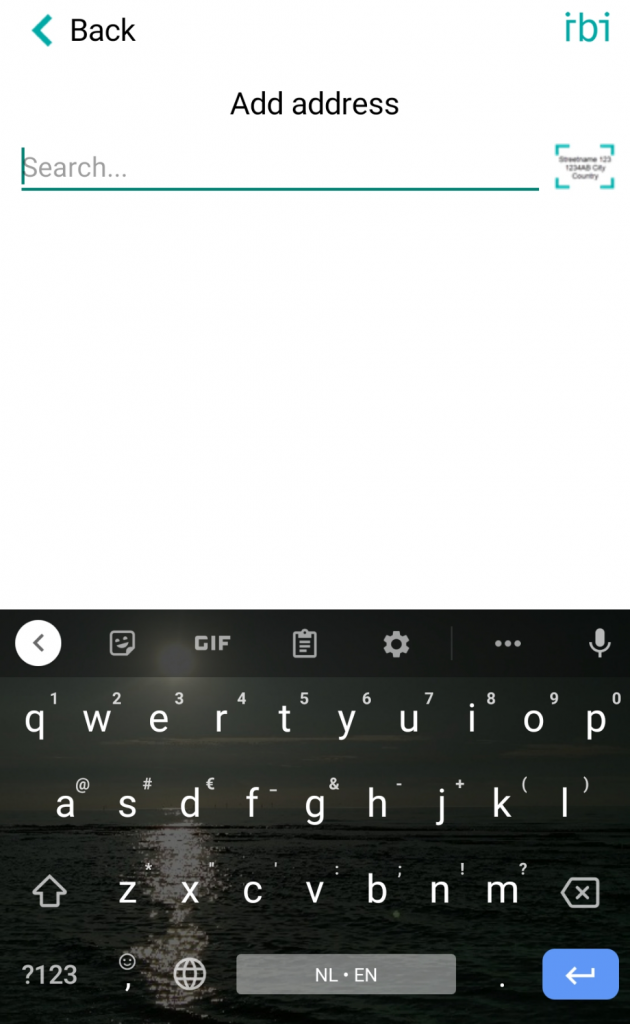
Type an address
Fill in your address in the following way: street name house number, city.
A postal code is optional.
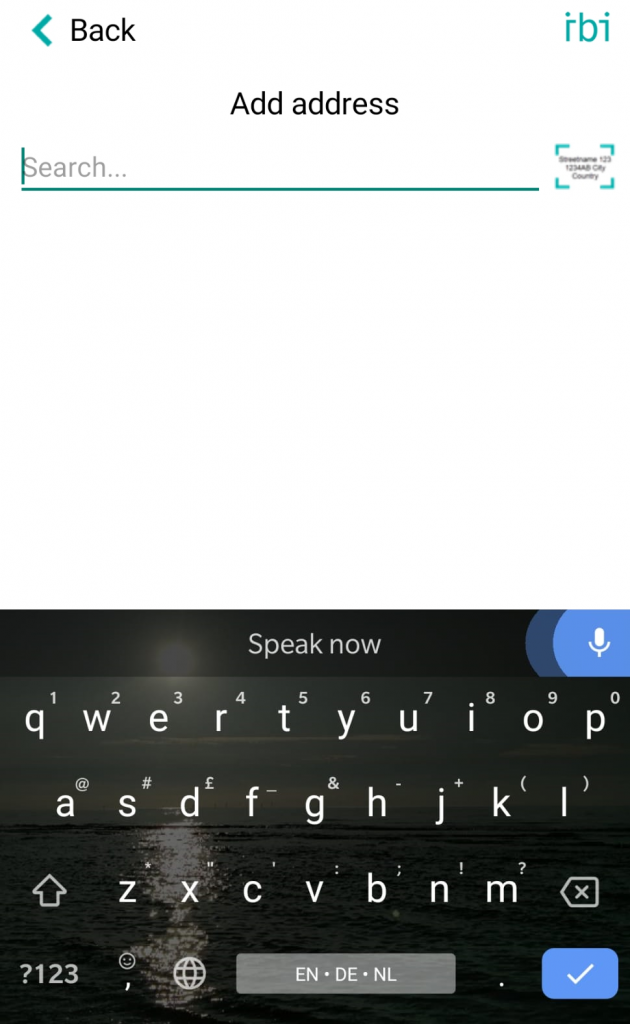
Enter an address by voice
Press the microphone button on your keyboard.
Record the address in the following way: street name house number, city.
A postal code is optional.
Use or edit an address
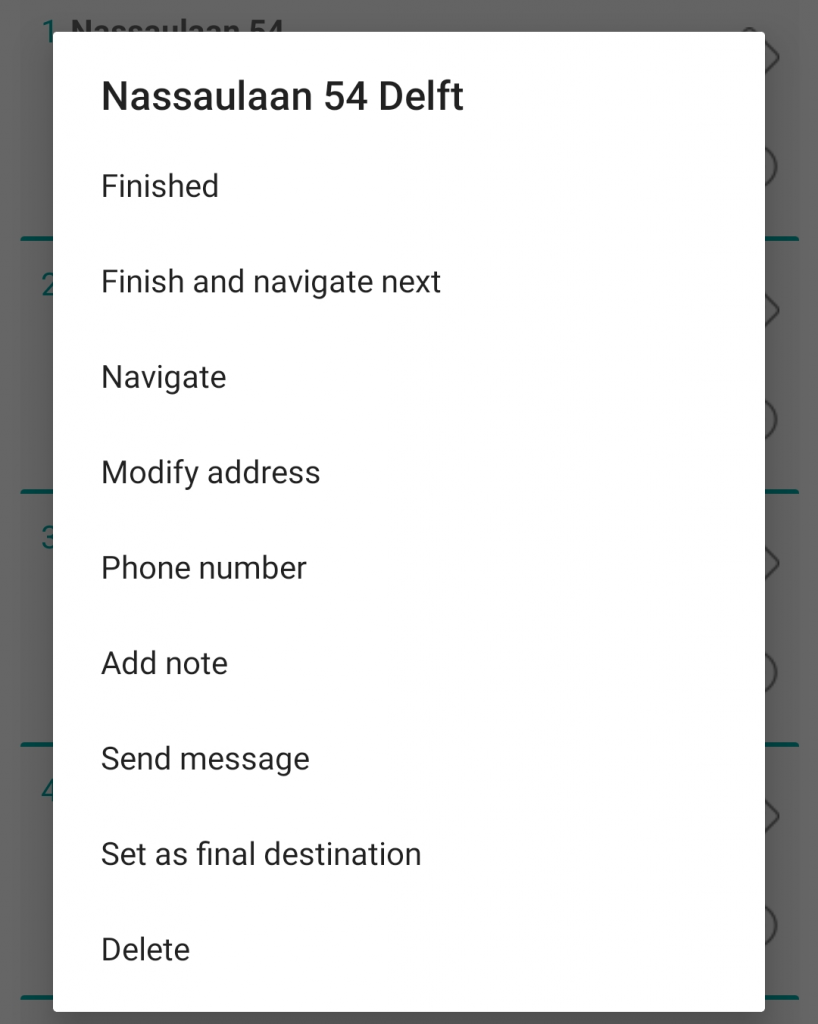
When you tap the address an option menu appears.
- Press Finished to indicate that you have delivered to the address.
- Press Finished and navigate next to indicate that you have finished the address and that you want to directly navigate to the next one.
- Press Navigate to navigate to the address.
- Press Modify address to modify the address.
- Press Phone number to add or modify the phone number.
- Press Add note to add or modify a note.
- Press Send message to send a message to the added phone number.
- Press Set as final destination to set the address as a final destination.
- Press Delete to delete the address.
Menus

Bottom menu
- Add adds an address
- Sort sorts the current list
- Map lets you view your addresses on the map
- Menu opens the side menu
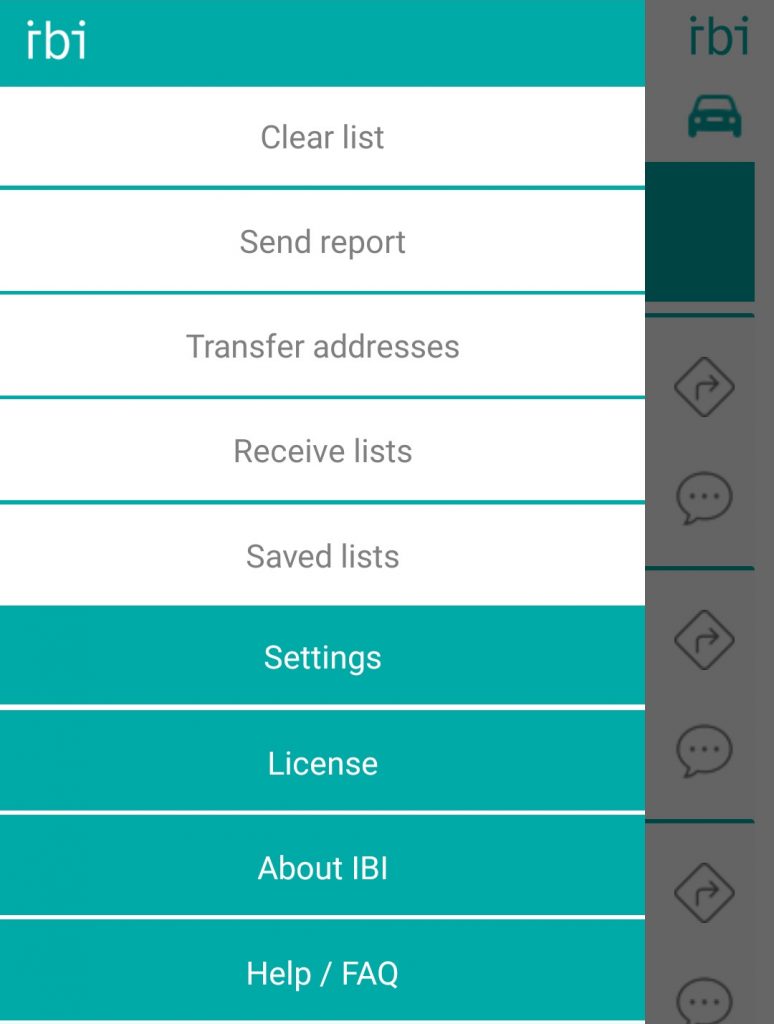
Side menu
- Clear list clears the current address list
- Send report sends the report
- Transfer addresses opens the transfer page
- Receive lists opens the receive page
- Saved lists opens the page where you can view you saved lists