Available with IBI 10, IBI Start, IBI Go & IBI Pro, click on the respective links to find out more.
After you have created a list of addresses, you might want to have a clear overview of all these addresses on a map. IBI gives you the opportunity to do this with the IBI Route Map. The map you can show the optimal route, and even navigate from the map with your favourite navigation app like Google Maps, Here and Apple Maps.
Watch the explanation in the IBI Academy YouTube-video or follow the steps below.
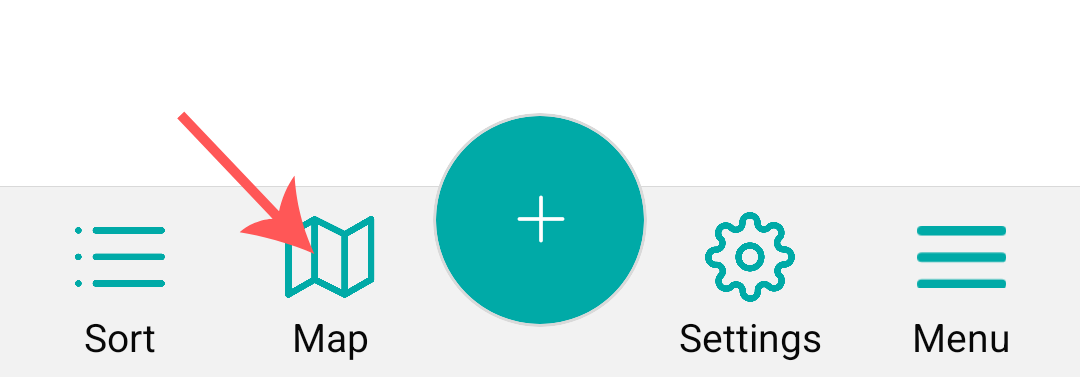
Tap on MAP on the bottom menu
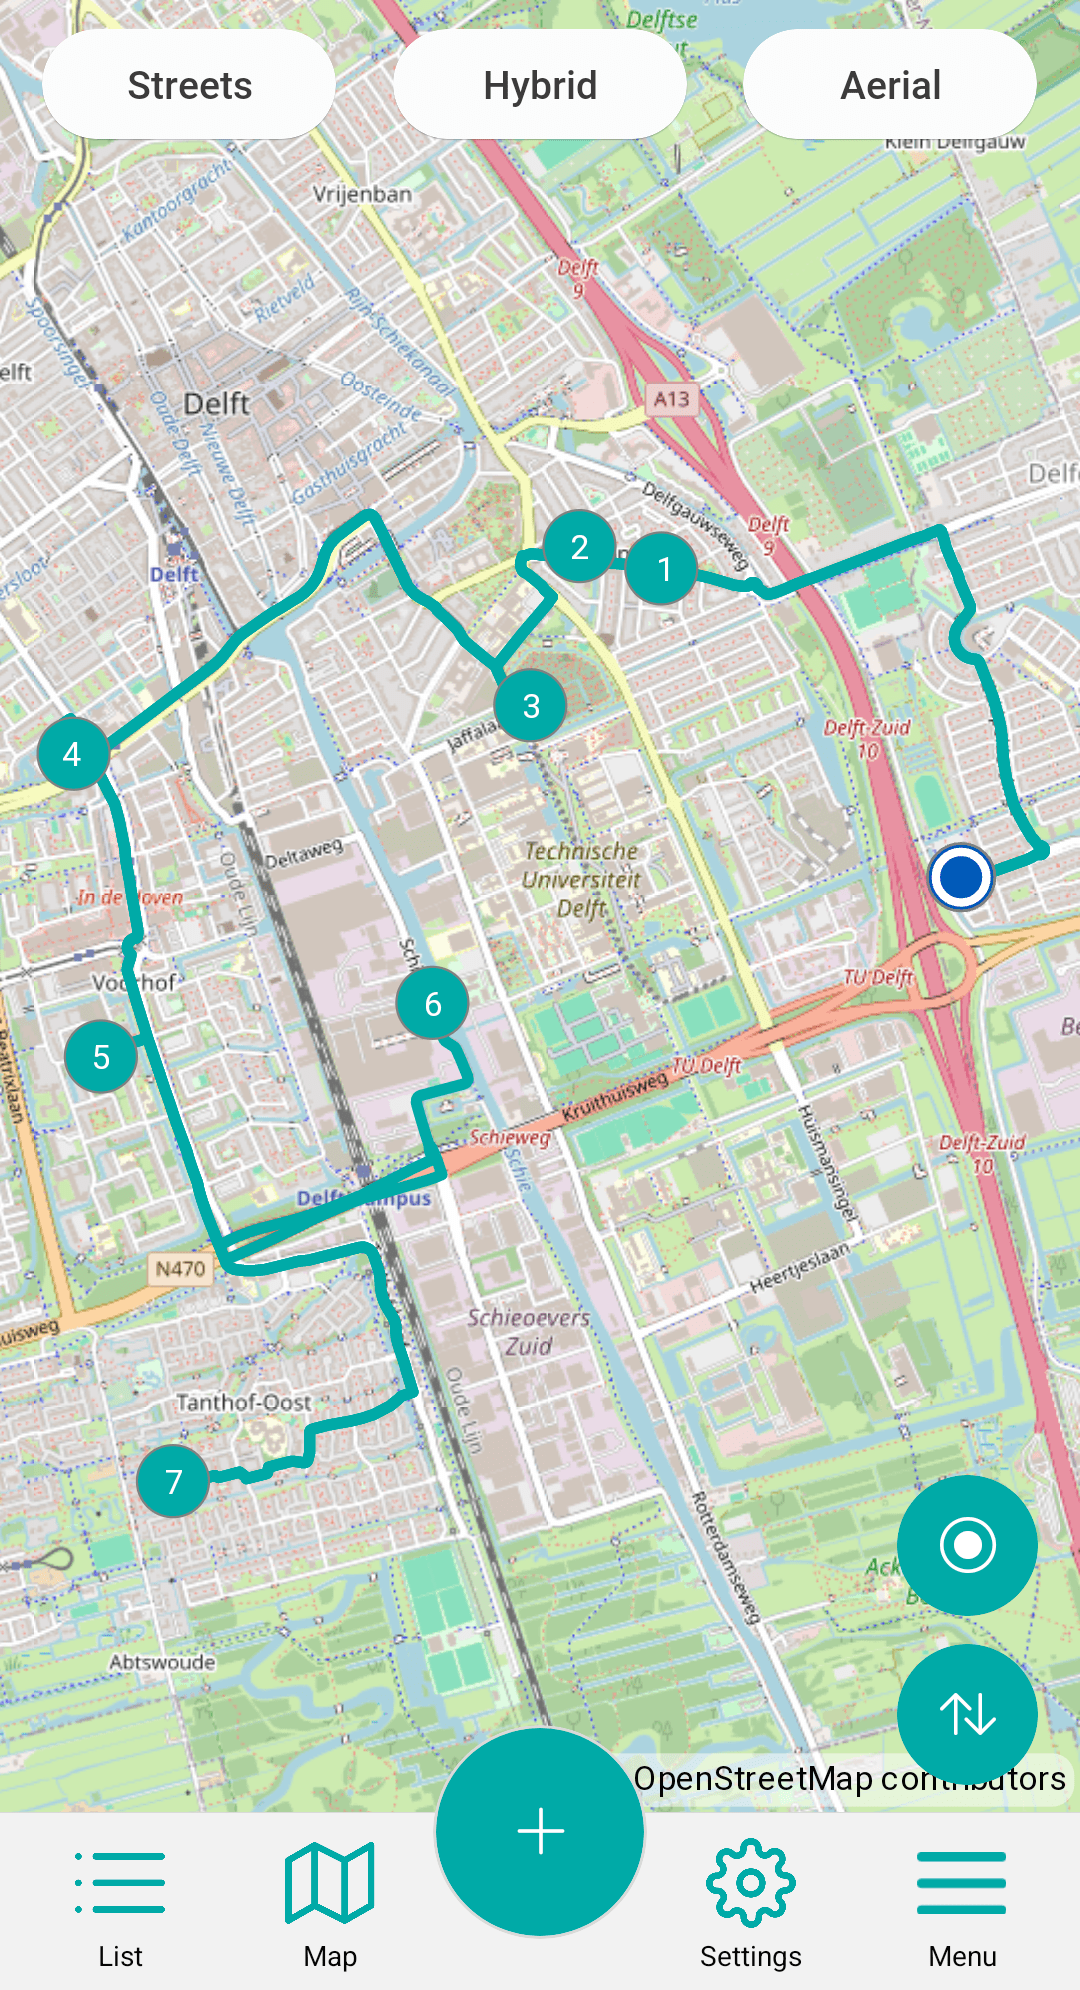
This is the Map screen, here you can see the optimal route through all addresses in your list calculated by IBI.
If you don’t see any route, you might have forgotten to sort the list of addresses first. You can do this in the map screen by clicking on the two arrows button in the bottom right of the screen.
Clicking the button with a white circle centers the map screen to your location, so you can easily find where you currently are on the map.
At the top of the screen are three buttons which you can use to switch between different map types: STREETS, AERIAL and HYBRID.
You are also able to add addresses to your address list in this screen, by simply clicking the big PLUS button at the bottom of the screen.
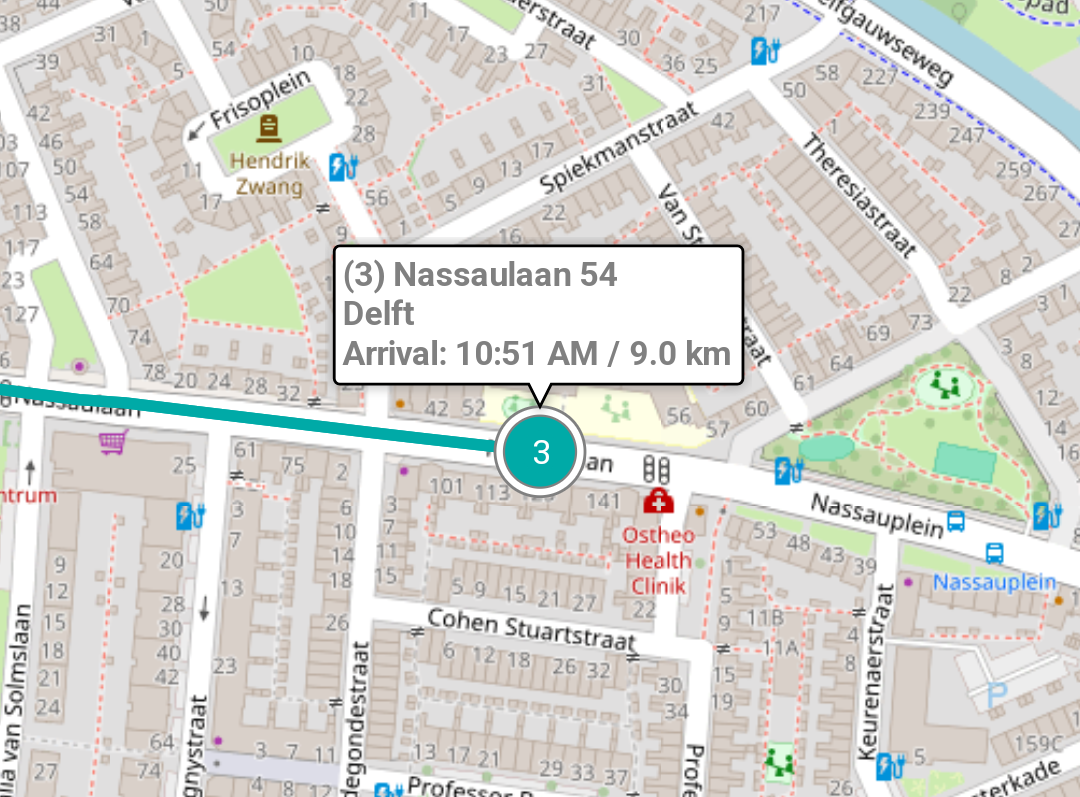
Clicking on an address centers the map to this location, and IBI will show a box with information about that address, including the arrival time.